Our subject today is as crucial as a sharp pair of skates and as pivotal as a keen eye for the puck. Yes, we're talking about hockey tape, the magical adhesive material that holds together the very fabric of a player's universe. Now that we're on the same page, let's dive into the electrifying world of hockey stick taping. Get ready to master the art, the Hockey Joe way!
1. Rule Numero Uno: Keep it Dry or Wave Goodbye
Picture this: you're on a breakaway, crowd roaring, and just as you're about to make the winning shot, your tape decides to wave the white flag. Why? Because it was more moist than an oyster at high tide. Before your game turns into a B-grade horror flick, remember this: always dry your stick blade first. Think of it as your stick's right to remain dry before any tape comes into play.
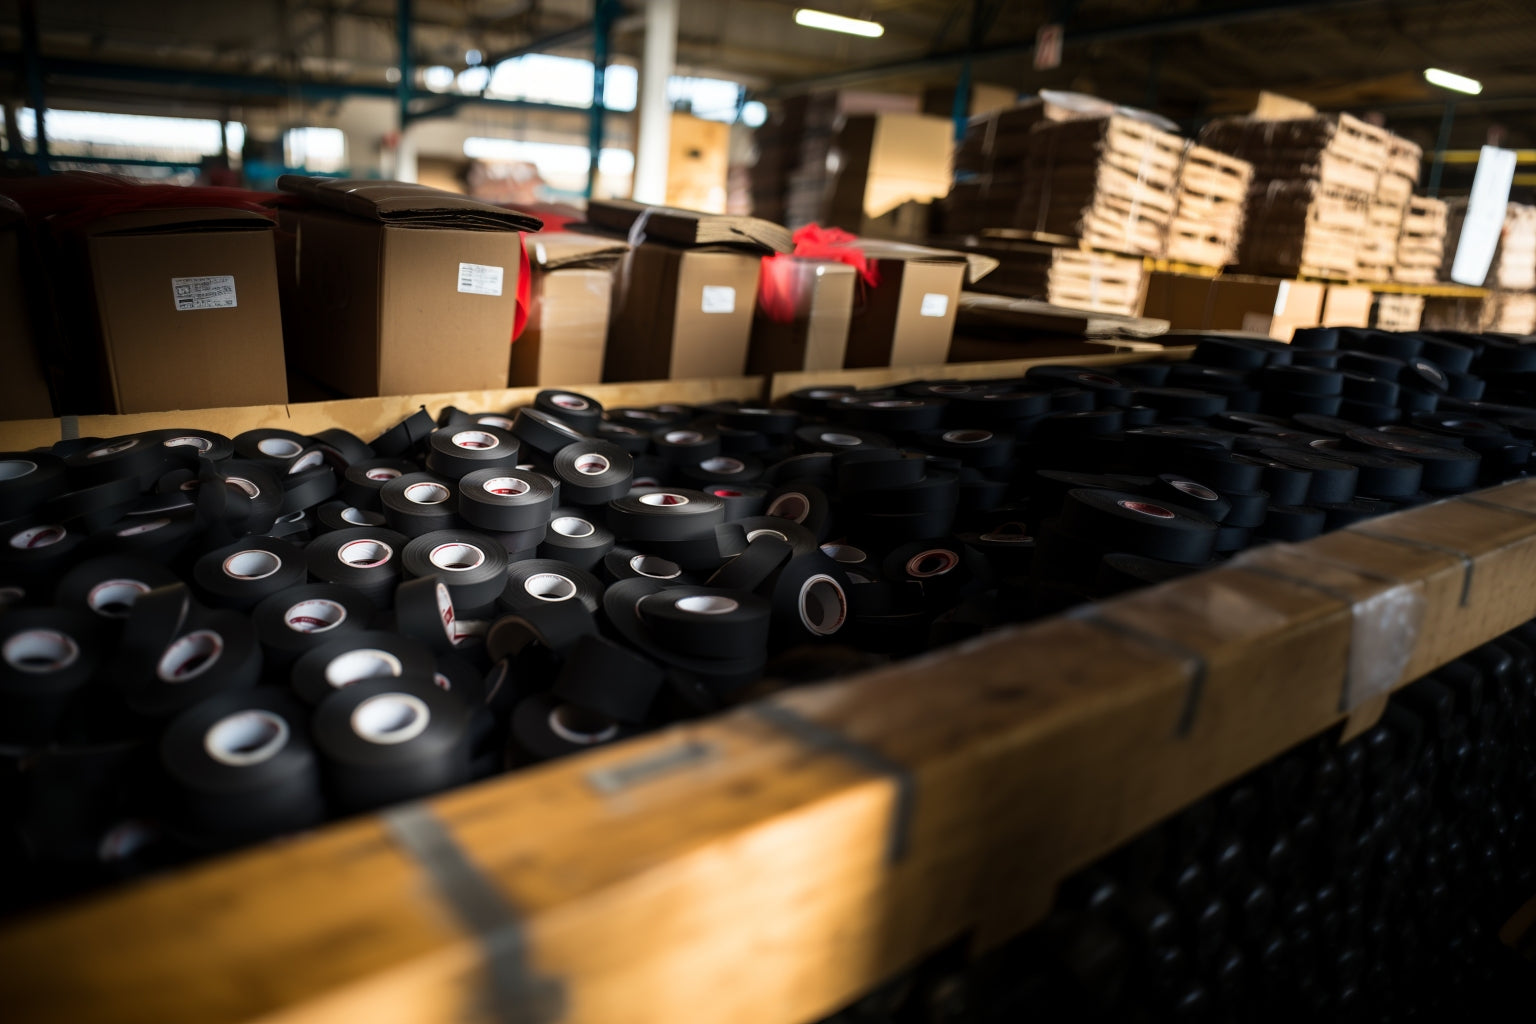
2. The Goldilocks of Hockey Tapes: Hockey Joe's Hockey Tape
In the vast, confusing world of tapes, one stands out. Neither too light nor too heavy, but a magnificent balance of the two. It’s the 'just right' adhesive wonder that could have Goldilocks swapping her porridge for a stick. Ladies and gents, welcome Hockey Joe's hockey tape into your life. The secret ingredient behind the transformation of our good ol' Joe into 'Joe Strong'. Are you ready to join the 'Strong' league?
3. The Great Expedition: From Heel to Toe
Taping your stick is an adventure, beginning at the heel and meticulously journeying towards the toe. This technique doesn't just make you look like a seasoned pro, but it's also a sure-fire way to keep your tape in check throughout the heat of the game.
4. The Delicate Balance: Firm, Not Fierce
Channel the spirit of a tightrope walker as you tape. You want a snug fit, but Hulk-smashing the tape onto your blade won’t do you any favors. Find the sweet spot - firm but not throttling - to ensure your tape job is up for the task.
5. The Finishing Touch: A Trim to Win
After your stick is snug in its new tape blanket, it’s time to trim the excess. Like a master gardener pruning their beloved bonsai, keep the finish neat and tidy. A sharp pair of tape scissors and a keen eye are all you need to shape the perfect end.
6. The Secret Weapon: Wax On
Once the tape is comfortably in place, it’s time to introduce the secret weapon: wax. A decent waxing session provides your tape with a protective shield, reduces ice and snow build-up, and improves your puck handling prowess.
7. Time for a Tape Makeover: Embracing Change
Every superhero needs to change their cape once in a while, and for hockey heroes, it’s no different with their tape. When your tape begins to show signs of wear and tear, it’s not the end, it’s just time for a little makeover. Embrace this as a chance to apply all you’ve learned, transforming your worn stick into a refreshed piece of art. It's the circle of tape life, keeping your stick in its prime and your game at its peak. So keep it fresh, keep it exciting, and remember, change can be a game changer!
There you have it! You're now fluent in the language of hockey stick taping. Remember, every winding layer of tape you apply speaks volumes about your passion for the game. So make use of these nuggets of wisdom, arm yourself with the trusty Hockey Joe's tape, and get ready to show the world just how strong your game can be. It's game time, let's make some ice sparks fly!


